Installing NEXON Vision on Xiaomi TVs
Install the app from a USB drive, complete the initial setup and add the TV to your NEXON Vision account.
Before you start
Connect the TV to the internet and have the remote and a USB drive ready. Download the APK from the official site using the link below and copy it to the USB drive.
Download APKThe screenshots show the TV's Ukrainian interface. Menu labels and dialogs may vary by model, language and Android TV or Google TV version. Open the full-size image
Install the app
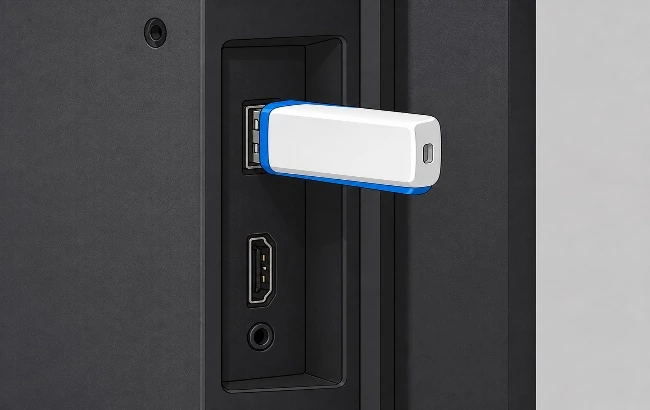
Insert the USB drive containing the installation file into the TV's USB port.
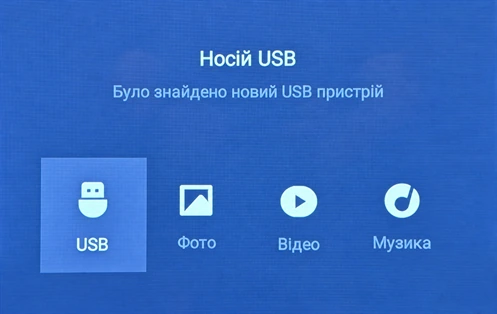
In the USB device dialog, use the remote to select USB.
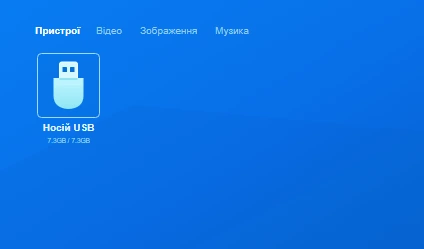
Open the USB storage device.
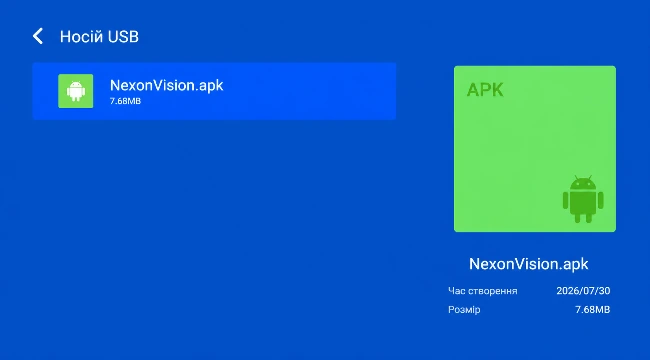
Launch the downloaded APK file. In the screenshot it is named NexonVision.apk.
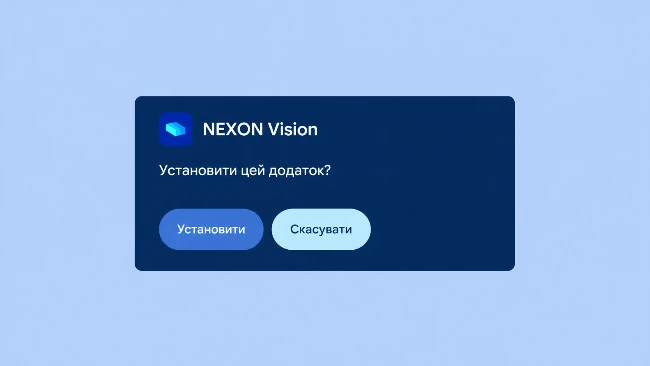
In the NEXON Vision installation dialog, select Install.
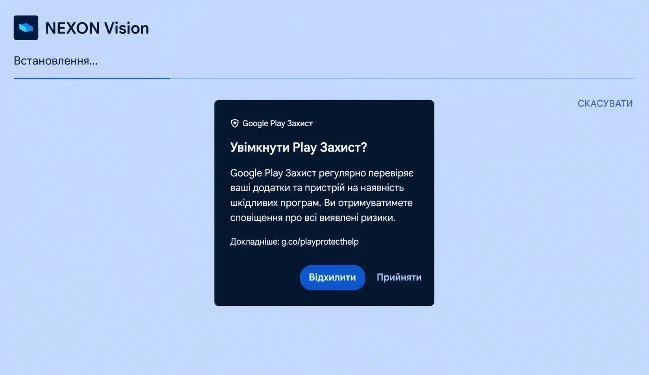
If the Enable Play Protect? dialog shown in the screenshot appears, select Decline.
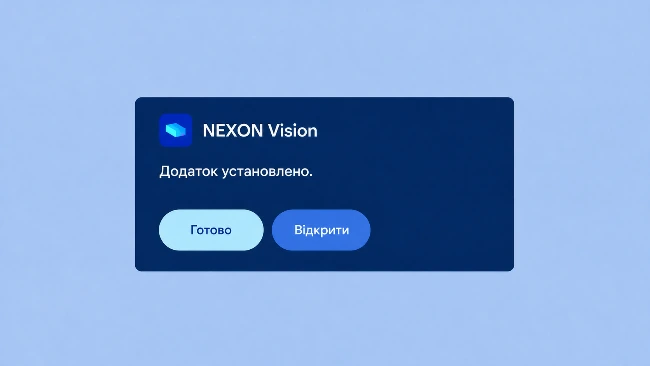
When installation is complete, select Open.
First launch and permissions
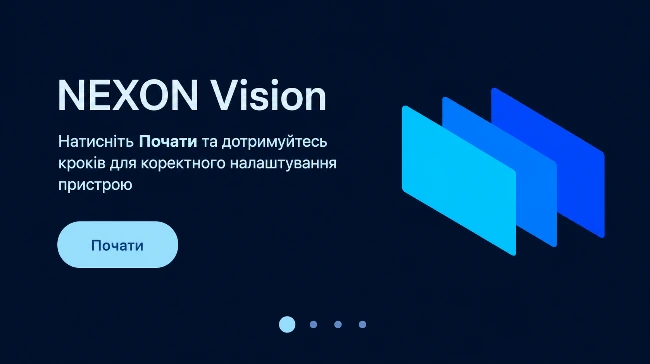
On the NEXON Vision welcome screen, select Start.
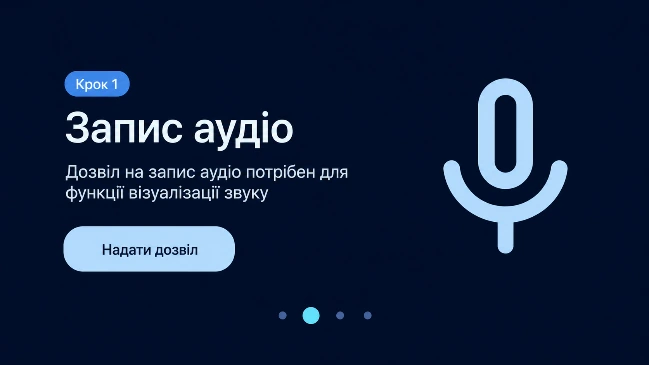
On the Record audio screen, select Grant permission. This setup wizard uses the permission for audio visualization.
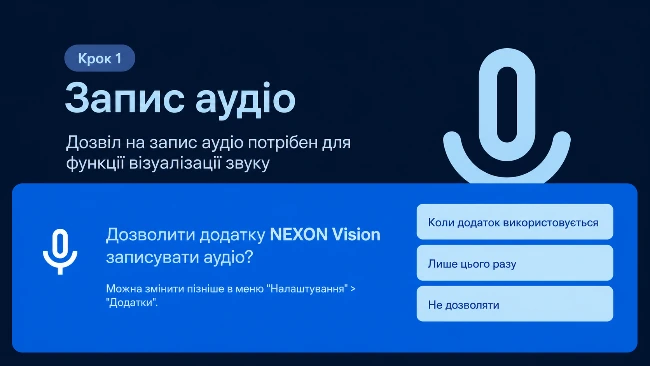
In the system permission dialog, select While using the app.
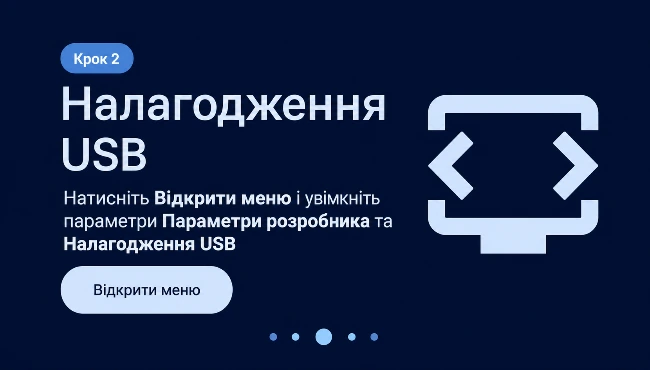
On the USB debugging screen, select Open menu.
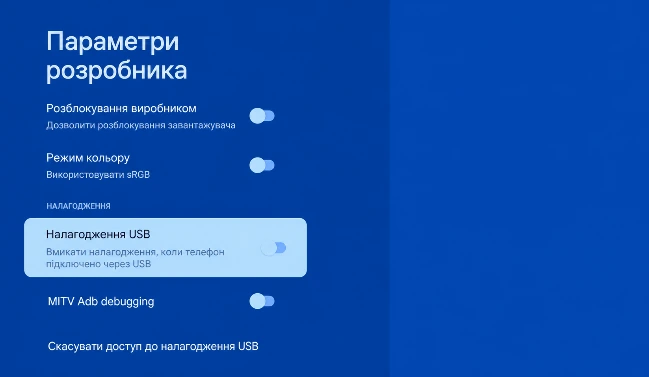
In Developer options, enable USB debugging and confirm with OK.
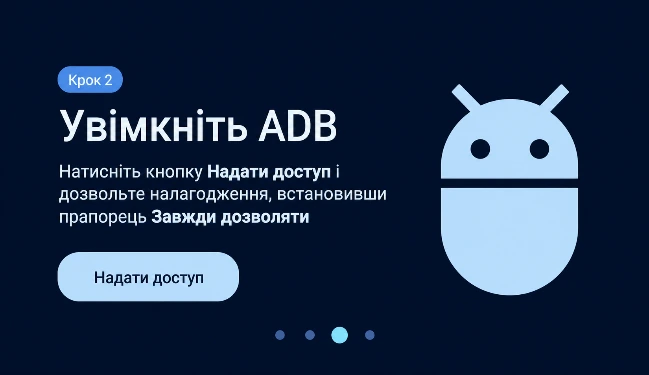
Return to NEXON Vision. On the Enable ADB screen, select Grant access.
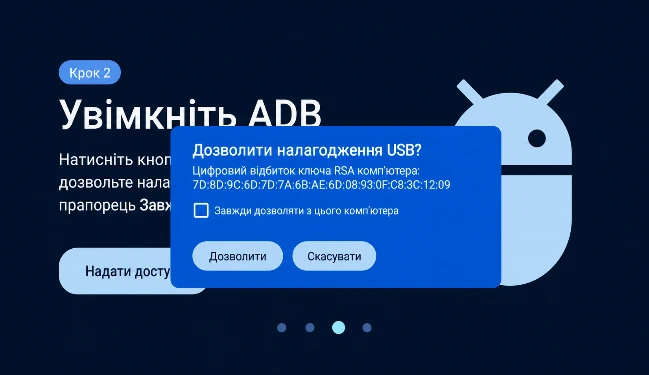
In the USB debugging prompt, check Always allow from this computer and select Allow.
Grant USB debugging access only while setting up your own TV for NEXON Vision. Do not approve requests from unknown devices.
Add the screen to NEXON Vision
Your code on the TV screen
app.nexon.vision
XXX XXX XXXA 9-digit connection code will appear on the TV. Leave this screen open and go to the content management system at app.nexon.vision on a computer or phone.
Sign in to your account, open Screens and select Add screen. Enter the code from the TV, give it a clear name and confirm.
Sign in to NEXON Vision ↗Turn off the screensaver and automatic power-off
Automatic power-off
Open Settings → Device preferences / System → Power & energy. Disable automatic power-off, the sleep timer and idle standby where these options are available.
Screensaver and Ambient mode
Open Settings → Screen saver / Ambient mode. Disable automatic screensaver startup or choose Never. If that option is unavailable, select the longest available interval.
Background operation
Allow NEXON Vision to run in the background and exclude the app from battery optimization if your TV provides these settings.
Check after restarting
Restart the TV and check that NEXON Vision starts and plays content. Leave the remote untouched for 10–15 minutes and make sure the TV does not sleep and the screensaver does not cover the content.
Other installation methods and next steps
The general guide covers installation using Downloader or USB, adding a player to your account and starting your first content. Follow the links below to the existing guides.